
Harnessing Virtual Reality for Enhanced Safety Training on Construction Sites
- Written by Sky Digital
In today’s fast-evolving construction industry, maintaining safety standards while managing complex projects is paramount. As sites grow increasingly intricate, traditional training methods are being augmented with cutting-edge technologies, notably virtual reality (VR). This transformative tool offers an immersive learning environment where construction workers can hone their skills and enhance their safety awareness without the physical risks associated with on-site training.
The Immersive Power of Virtual Reality
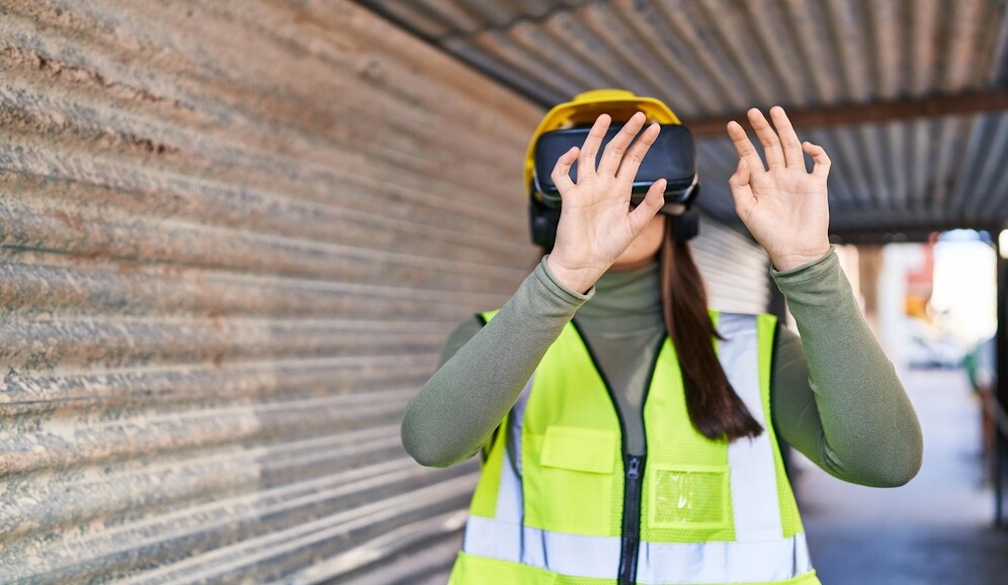
Virtual reality in construction safety training serves as a bridge between theoretical knowledge and real-world application. By donning VR headsets, trainees can navigate through highly detailed, interactive 3D models of construction sites. These simulations include a variety of scenarios that workers might encounter, including equipment operation, hazard recognition, and emergency response drills.
The immersive nature of VR means that trainees can experience realistic site conditions and potential hazards, such as working from heights or manoeuvring through tight spaces. This practical exposure is crucial in preparing them for real-life situations, making their reactions more instinctive and enhancing overall site safety.
The Advantages of VR in Construction Safety Training
- Risk-Free Training Environment: VR provides a safe platform for trainees to make mistakes and learn from them without the consequences of real-world errors. This aspect is particularly vital in an industry where errors can lead to serious injuries or worse.
- Standardised Training Processes: VR ensures that all trainees receive the same quality of training, with consistent scenarios and feedback. This standardisation helps in uniformly elevating safety protocols across the board.
- Engaging and Effective Learning: The engaging setup of VR training increases retention rates. Trainees are not merely passive recipients of information but active participants in their learning process. This engagement is key to effective learning and long-term retention of safety practices.
- Cost-Effective Scalability: Once developed, VR programs can be easily scaled to train a large number of employees across various locations. This scalability makes it a cost-effective solution compared to traditional training methods that often require physical presence, travel, and repeated sessions.
Integrating VR with Traditional Techniques
While VR is revolutionary, it does not entirely replace hands-on training but rather enhances it. Integrating VR with conventional training methods provides a comprehensive training experience. For instance, VR simulations can prepare workers for the complexities of operating heavy machinery – a perfect segue to introducing real equipment like a crawler crane. In such scenarios, trainees who have practiced in VR are better prepared and confident when handling actual machines, significantly reducing the learning curve and associated risks.
For those looking into advanced equipment training, including crawler crane hire, integrating VR into the preparatory training phase can lead to more proficient handling and safer operation standards.
Future Directions
The future of VR in construction training looks promising, with ongoing advancements in VR technology making it even more accessible and effective. As VR becomes more widespread, its potential to transform safety training continues to expand, promising not just safer construction environments but also more confident and competent workers.